07 PIR Sensor
PIR Sensor
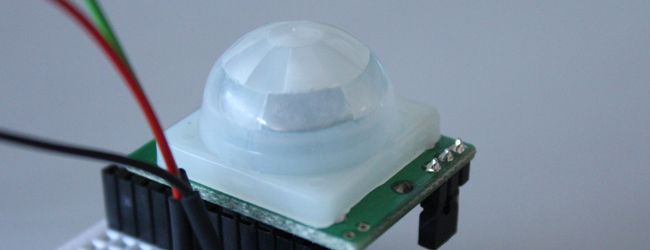
Aufgabe
Findet heraus, wie der Sensor an das Arduino angeschlossen wird und schreibt ein Programm, welches 1. Über Serial.print() ausgibt und 2. Eine LED anschaltet, wenn sich etwas im Sichtfeld des Sensors bewegt.
Informationen
Datenblatt
Anleitung mit Code
Lösung
// AUFGABE 07: PIR Sensor
// Embodied Interaction Basics
// Moritz Kemper, IAD Physical Computing Lab
// ZHdK, 09/11/2011

#define LED_PIN 13 // Define the Pin of the LED
#define PIR_PIN 8 // Define the Pin of the PIR Sensor (Type: Parallax 555-28027

void setup()
{
  pinMode(LED_PIN, OUTPUT); // Set the LED Pin as Output
  pinMode(PIR_PIN, INPUT); // Set the PIR Pin as Input
  digitalWrite(PIR_PIN, LOW); // Disable the Pullups

  delay(30000); // Wait for the Sensor to power up
  digitalWrite(LED_PIN, HIGH); // Say: Setup completed!
  delay(1000);
  digitalWrite(LED_PIN, LOW);
}

void loop()
{
  if(digitalRead(PIR_PIN) == HIGH) // If the PIR Pin goes HIGH
  {
    digitalWrite(LED_PIN, HIGH); // Set the LED to HIGH
    delay(100); // Wait for 100 Milliseconds
  }
  else // If no Movement is detected anymore
  {
    digitalWrite(LED_PIN, LOW); // Turn off the LED
    delay(100); // Wait for 100 Milliseconds
  }
}

//Thats All ...