Gruppe 2 (Sebastian, Eva, Mike)
Gruppe 2
Studierende:
Sebastian Pape,
Eva Seliner,
Michael Zimmermann
Schritt 1: Systemanalyse & Kontextrecherche
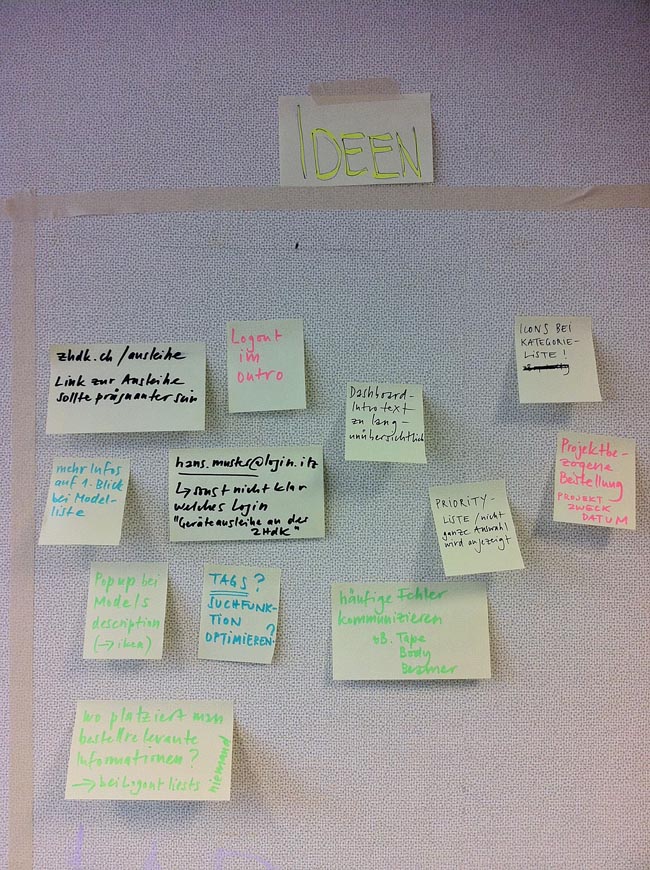
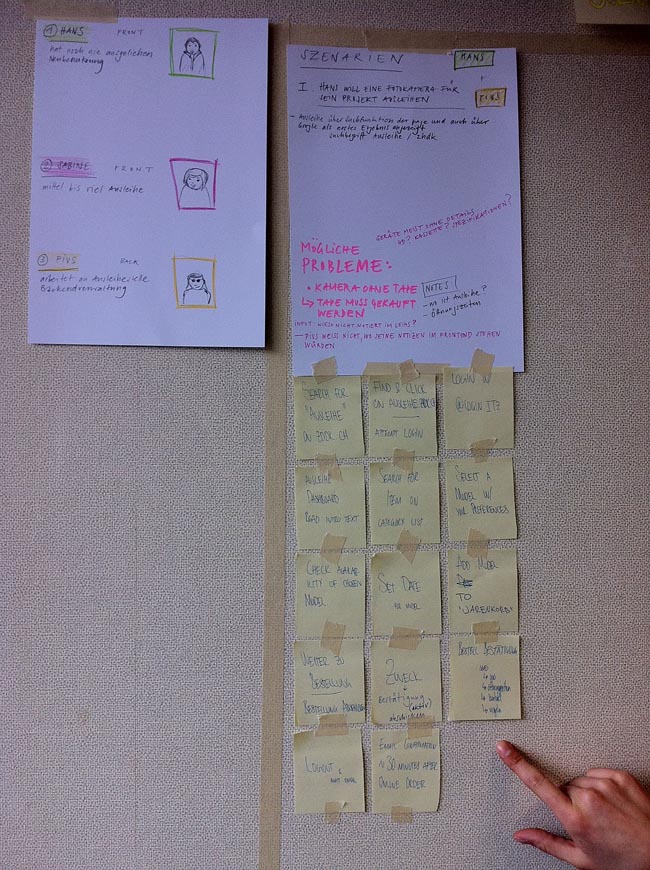
Durchspielen verschiedener Szenarios im Leihssystem mit Personas. So kann das System besser verstanden werden und Redundanzen im Ausleihprozess werden erkannt.
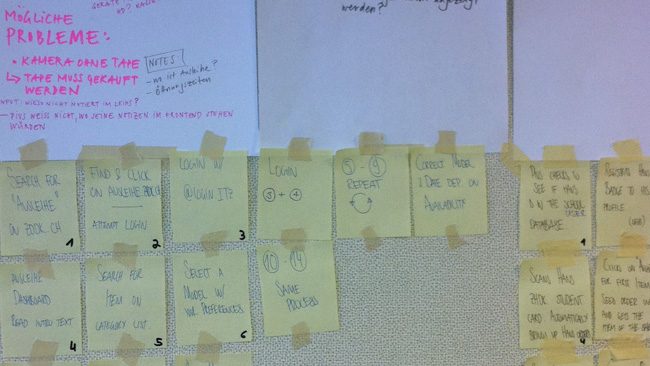
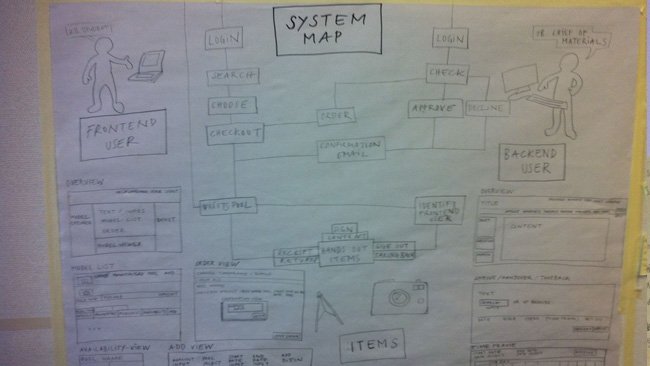
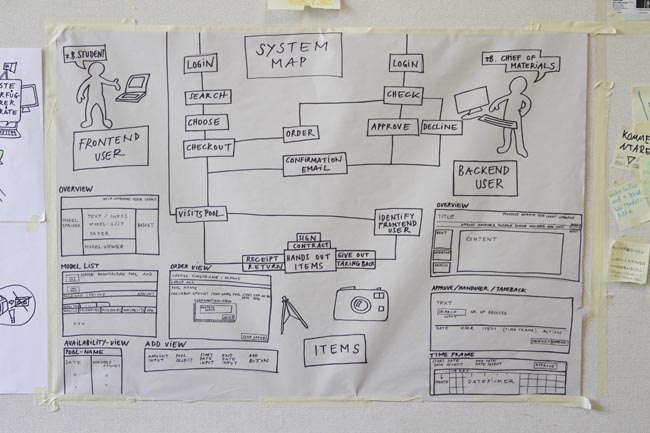
Aufgrund dieser Erkenntnisse Aufzeichnung der verschiedenen Prozesse und Erstellung einer Systemmap. Erste Probleme und darausfolgende mögliche Lösungen werden aufgezeichnet.
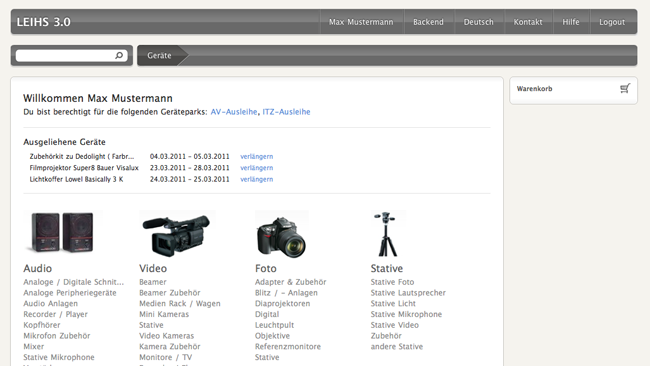
Nach dem Durchspielen der Bestellprozesse im Frontend fiel uns auf, wie kompliziert und umständlich das alte Leihs-System funktioniert. Viele Prozesse könnten vereinfacht werden und so dem Benutzer die Bestellung erleichtern.
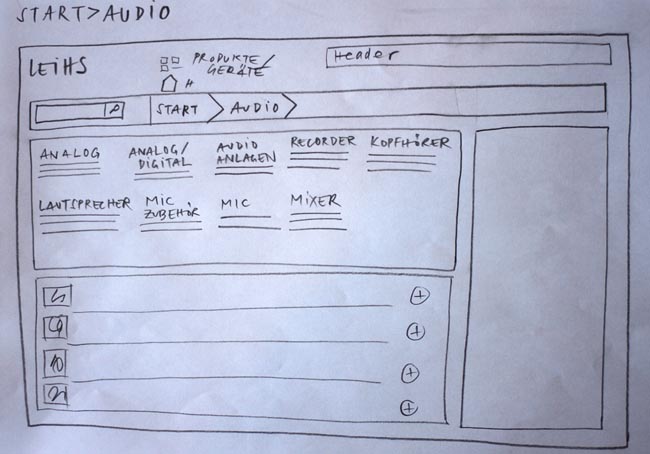
Was uns ebenfalls negativ auffiel, war der unübersichtliche Aufbau der Seite: viele Tabs und Modelllisten sind auf eine Seite geladen, eine benutzerunfreundliche Explorerliste dient als Navigation durch die Modelle. Alles in allem erscheint das Leihs überladen und "oldfashioned". Erste Skizzierung von möglichen Änderungen, Wünschen, Ideen.
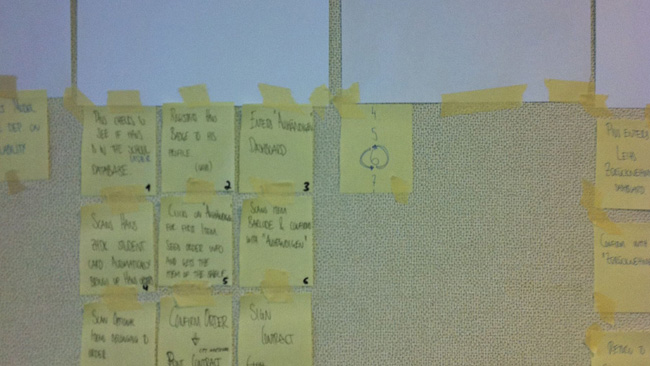
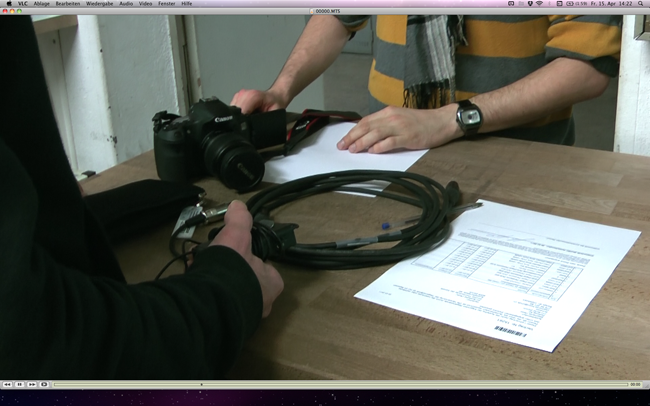
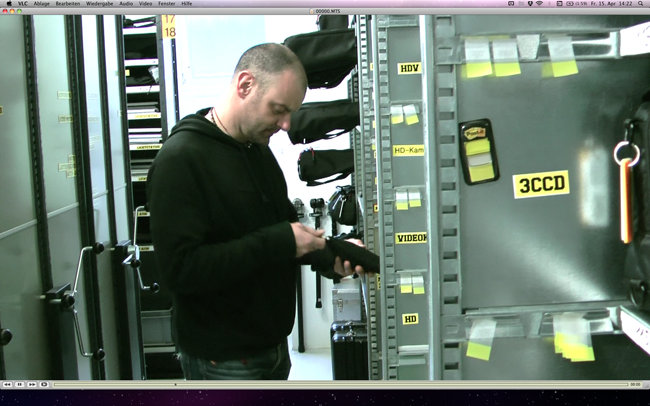
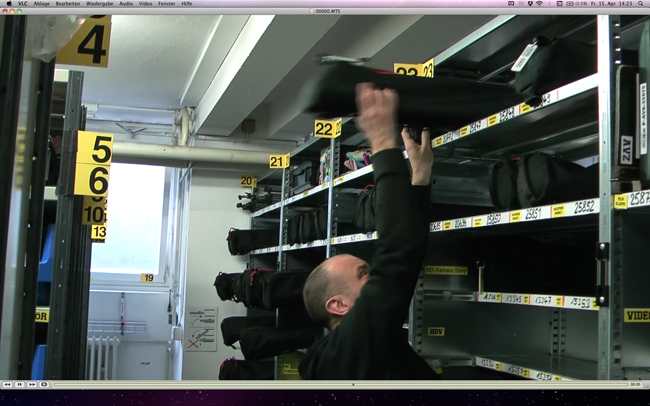
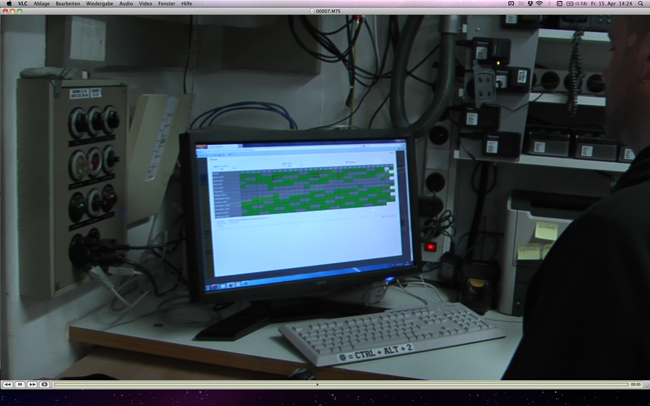
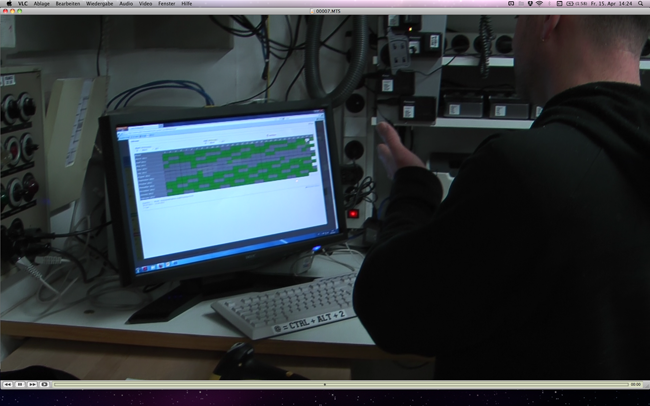
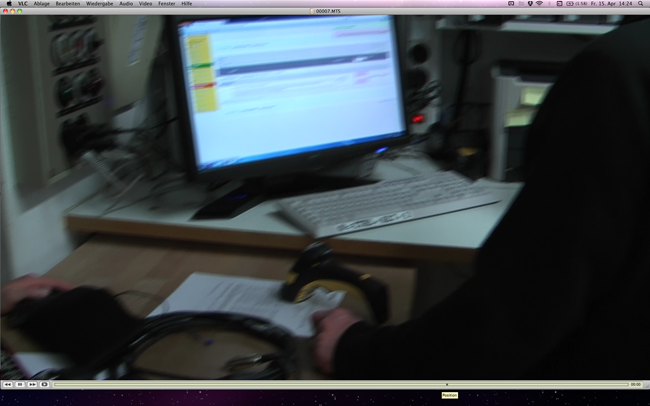
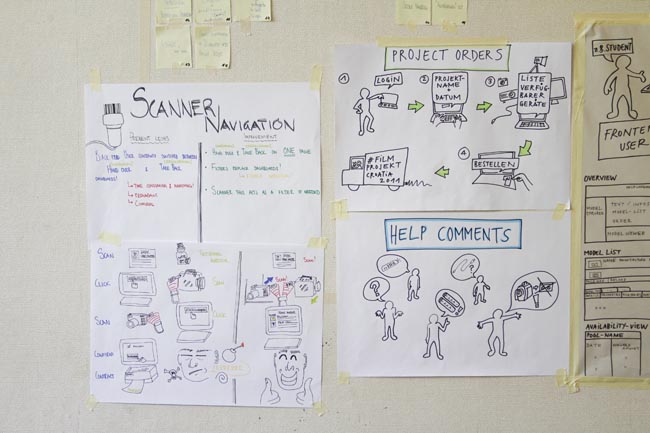
Da wir das Backendsystem nicht kannten, mussten wir dieses erkunden: dazu haben wir Pius und Claudio von der AusLEIHStelle besucht und deren Arbeitsabläufe in Wort und Bild festgehalten, um anschliessend eine Systemanalyse vorzunehmen.
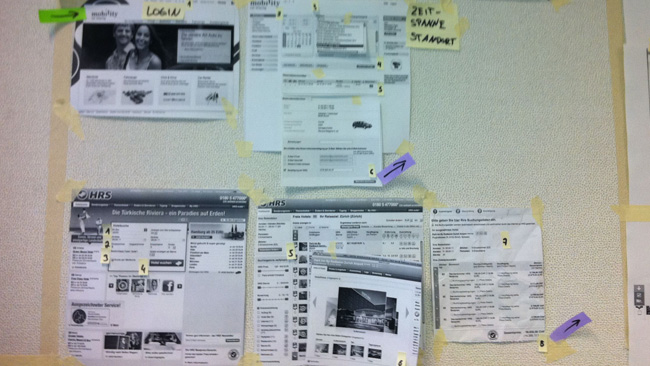
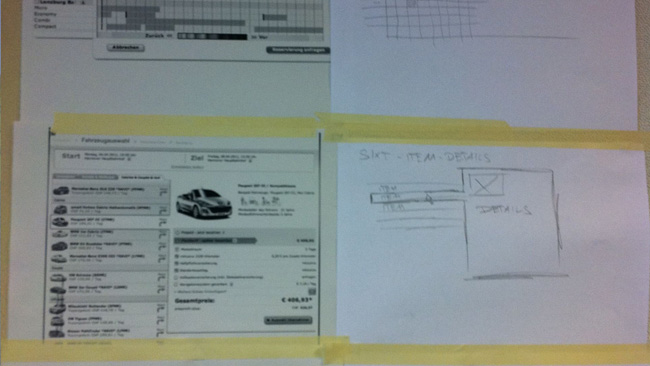
Parallel dazu lief die Konkurrenzanalyse, bei welcher wir verschiedene andere Ausleih- und Mietsysteme untersuchten, wie wird von anderen Anbietern vorgegangen, was könnte für unser spezifisches System übernommen werden etc.
Konkurrenzanalyse folgender Produkte / Firmen:
Blockbuster - DVD-Verleih
HRS - Hotelreservationssystem
IKEA - Möbelhaus
Mobility - Mietwagen
Sixt - Mietwagen
Schritt 2: Interviews & Beobachtung
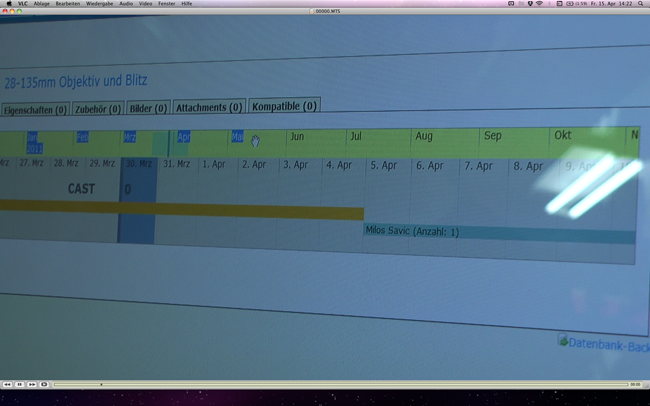
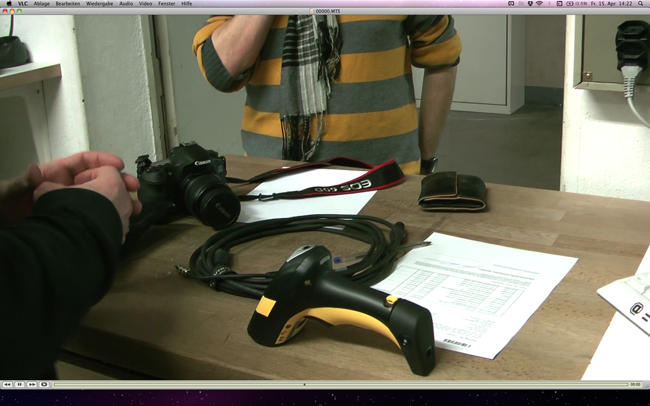
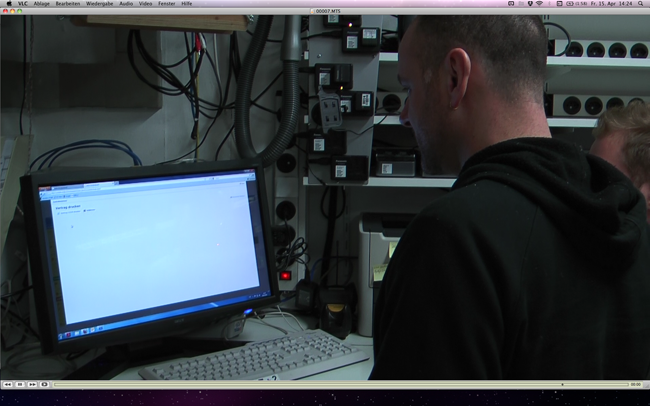
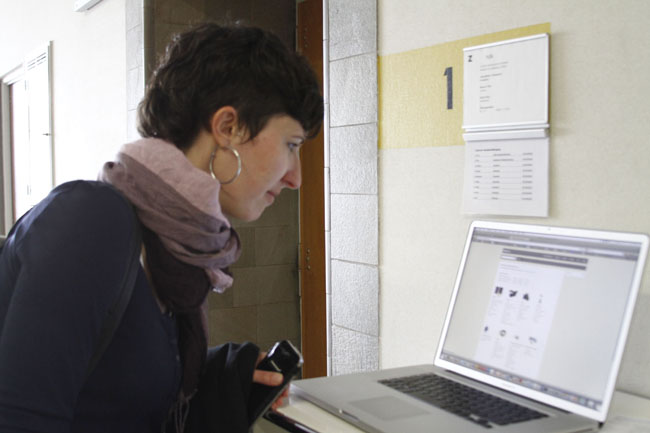
Für Interviews und Beobachtung gingen wir zum Schalter der Ausleihstelle im Hauptgebäude und liessen uns zuerst die Räumlichkeiten zeigen und das Backendsystem erklären. Dann agierten wir als stille Beobachter und verfolgten die verschiedenen Prozesse und Vorgehensweisen beim AV-Schalter wie Ausleihen und Zurücknahmen. Durch das Abfilmen der Vorgehensweise im Backend konnten wir auch die Mausbewegungen verfolgen und Redundanzen im System stachen sofort ins Auge: Viel zuviele Klicks um an den gewünschten Ort zu kommen, sehr lange Mauswege und kein logischer Aufbau des Systems.
Für das Frontendsystem haben wir mit unter Punkt 1 erwähnten Szenarien verschiedene Prozesse durchgespielt und kamen so auf zahlreiche Hinweise, Ideen und Verbesserungsvorschläge die in ein neues Leihs integriert werden sollten.
Schritt 3: Ideengenerierung, Sketching, Konzeption
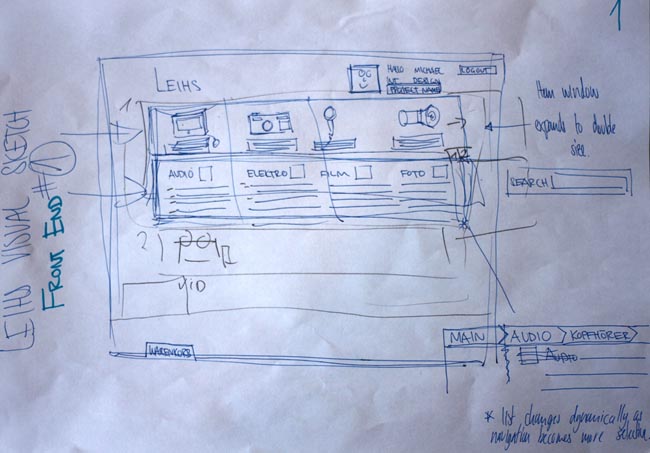
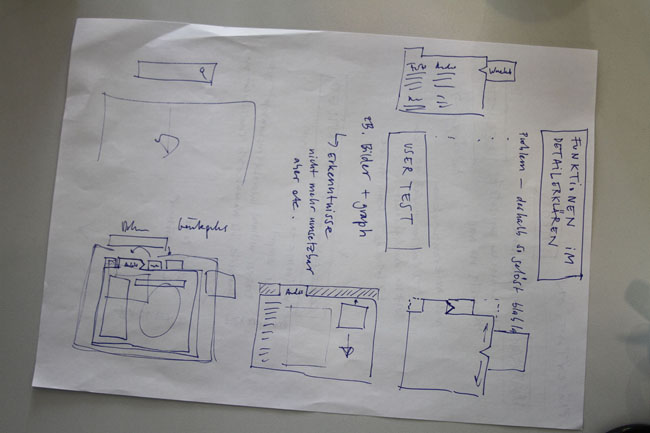
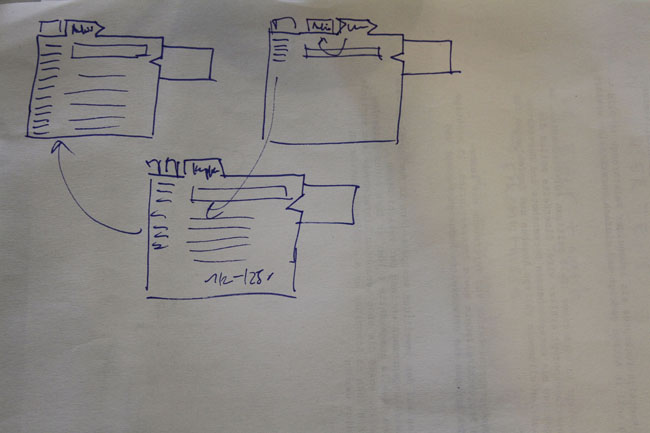
After a lengthy process of wireframing on paper as well as sketching out ideas and using paper as click prototypes certain ideas crystalized and others where discarded when we started coding the site.
We first took out time to create a photoshop template to create a very clear idea of what the website would look like. Other groups spent a lot of time developing ideas directly in html. We decided to first get an exact image of the website (in photoshop) before we touched coding in html.
After playing through the appearance of the dashboard with a lot of disagreements we finally created something we where all happy with. During our discussions we lost ourselves in details regarding color or icons vs pictures. But knowing that we where fighting about details meant that we where happy with the general direction of our interface.
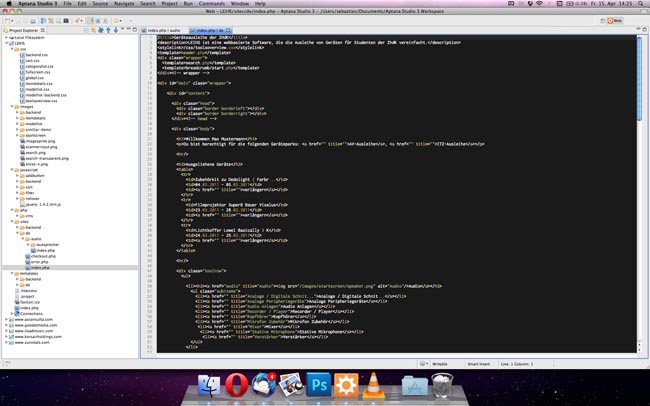
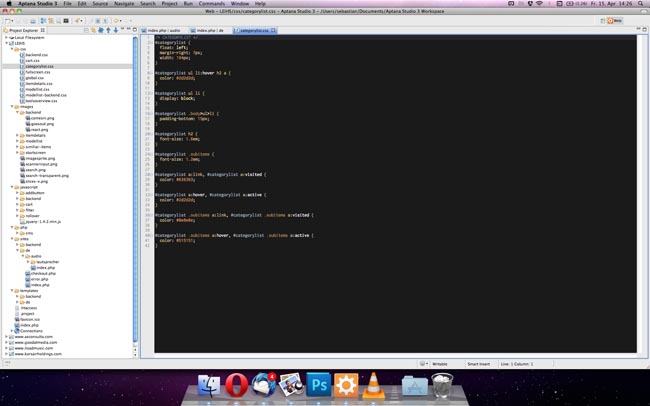
The interface was then coded with xhtml and css on aptana studio on osx. Sebastian coded most of the site himself whilst helping Eva and myself get a grasp on html and css. Teaching us how to cut up a site in photoshop and transfer it to html and css on the web.
After coding the front end sebastian managed to put our back end ideas into reality a day before the presentation. Replacing our photoshop mock up screens with a working back end model!
So much to our development process..
Schritt 4: Paper Prototyping & Wireframing
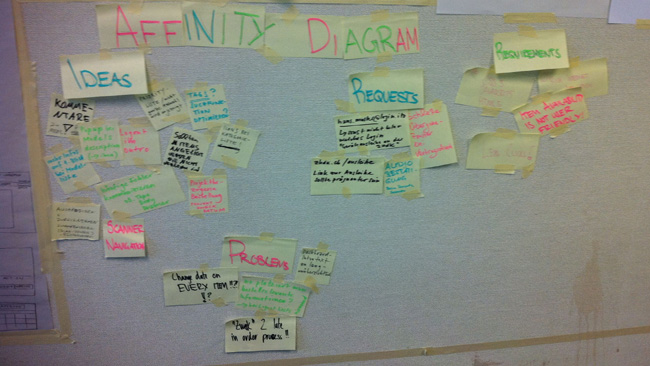
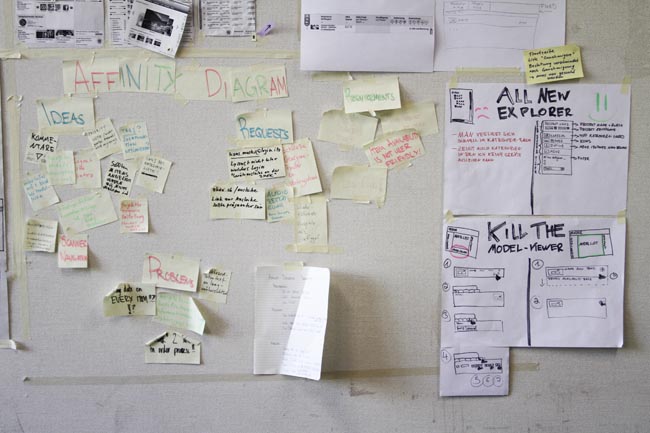
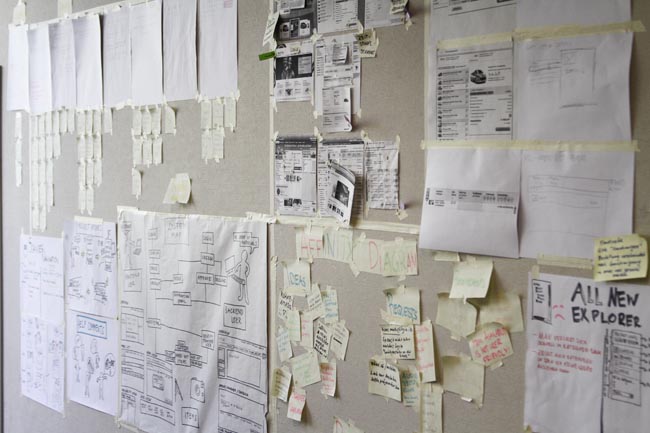
All Ideas and concepts where done on paper first before being discussed and pasted on our wall for further analysis. See the slideshow on this page to see a selection of ideas and sketches.
Paper prototyping really helped us see the errors in certain concepts. Ideas that seemed easy to complete became difficult quickly when made as a prototype on paper. It was then that certain interactions or difficulties where made clear to us. We usually worked through the paper prototypes to create the interfaces for the sites. Going through each step together and discussing it while making changes on the way.
Schritt 5: Entwicklung
The developing of the Leihs system was done in Aptana studio by Sebastian. We made sure that we had a good looking version in photoshop before we moved to coding. Whilst other groups where working on their html we where still arguing about the interface and the design choices that we made. Once the whole group was happy with the changes we moved to coding the photoshop mock-up in html and css.
Sebastian was nice enough to spend a few hours showing Eva and myself how to cut up a mock up and transfer the pieces into valid html making it "simple" to create a website that looked exactly the same as our mock-up. Which was a great help in developing our idea online.
The focus was on the front end because we wanted to vode and present the front end ideas. Sebastian had to work out all of the features online while Eva and I made sure to observe his work to understand his coding methods while concentrating on writing the Leihs documents on the side.
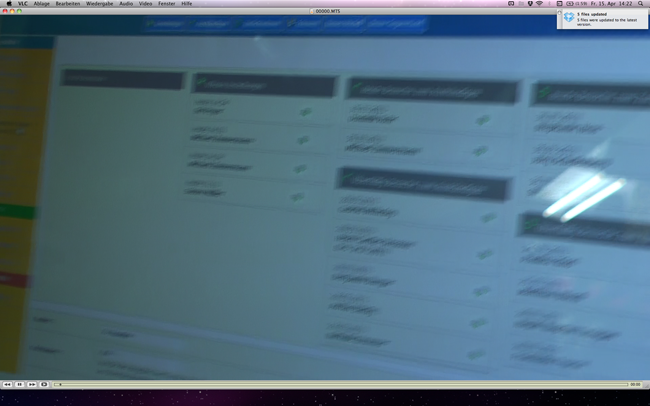
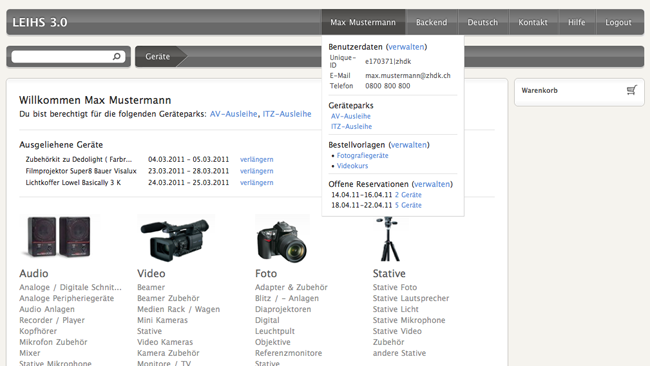
A day before the presentation Sebastian managed to even code the back end concept. Which was a great help in our video seen above and during the presentation. Giving us a working model of one of our favourite ideas. The consolidated back end dashboard screen!
Schritt 6: Evaluation
Im Laufe unserer Arbeit am Prototypen diskutierten wir immer wieder neue Fragestellungen, Ideen wurden verworfen und erneuert und so kamen wir bereits während des Arbeitsprozesses auf Verbesserungsvorschläge.
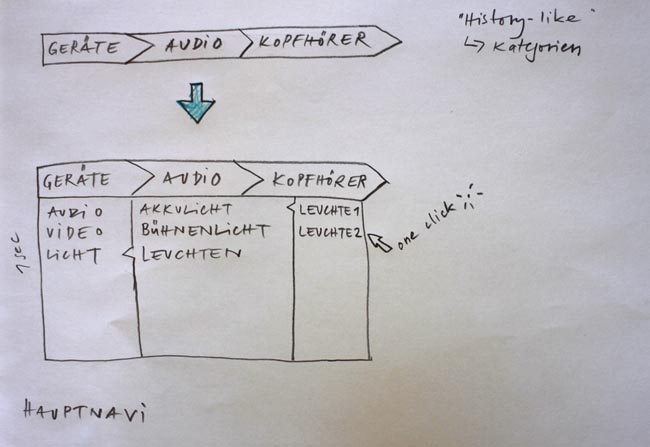
Wir diskutierten mit Stefano über die Fragestellung einer Kombination unserer BreadCrumb mit Registerkarten und dies würden wir sicherlich als eine der Hauptänderungen bei einer Weiterarbeit am Projekt verfolgen und aufnehmen. Wir testeten unser neues Leihs 3.0 auch noch in einer kleinen Userbefragung mit vier Testpersonen und liessen diese den Bestellprozess am Prototypen durchspielen. Für allfällige Änderungen war die Zeit zu knapp und die Userbefragung zu wenig fundiert, es war aber spannend zu sehen, ob sich auch ungeübte User überhaupt zurechtfinden im neuen System.
Schritt 7: Resultat
DEMO / Prototyp
Der Prototyp wurde optimiert für Webkit-Browser wie Safari oder Chrome und wird nur in diesen optimal angezeigt:
Link zum LEIHS 3.0 Prototyp
Im Prototyp können folgende Prozesse durchgespielt werden:
- Frontend > Startscreen
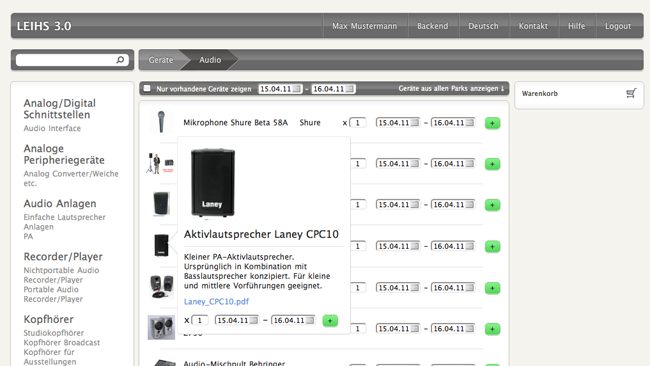
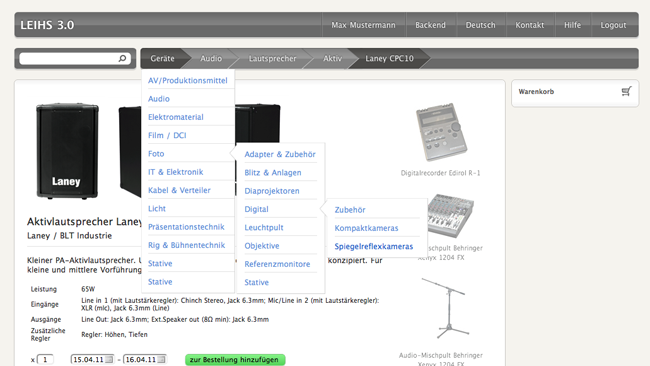
- Frontend > Startscreen > Kategorie "Audio"
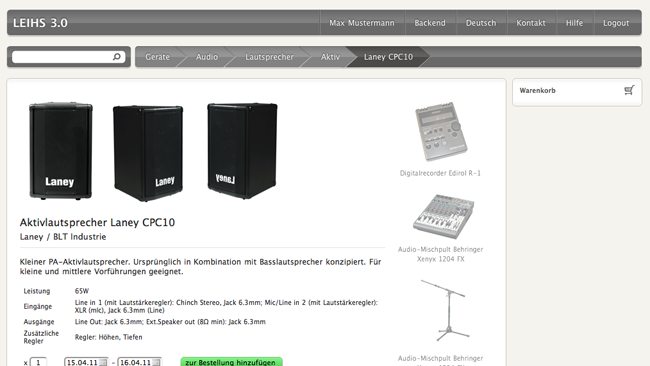
- Frontend > Startscreen > Kategorie "Audio" > Aktivlautsprecher Laney CPC10
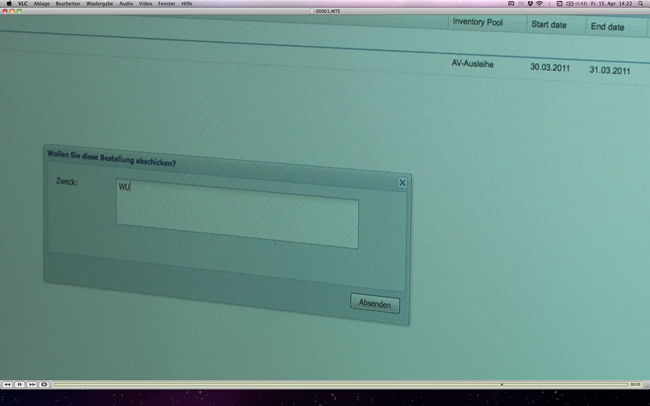
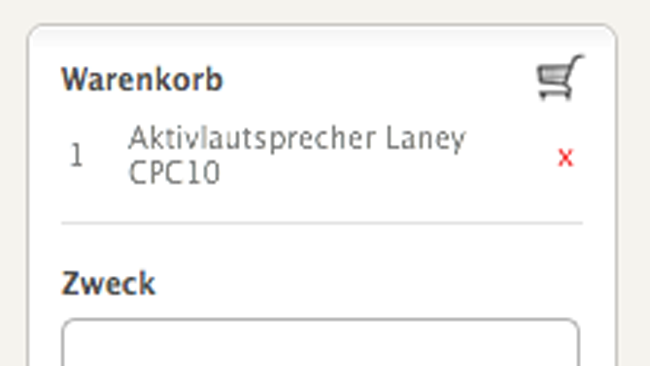
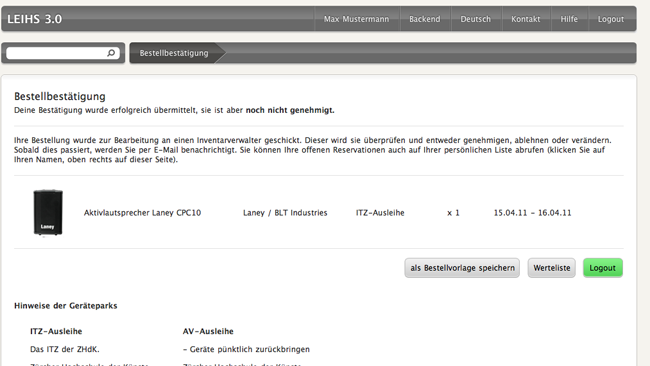
- Frontend > Startscreen > Kategorie "Audio" > Aktivlautsprecher Laney CPC10 > Bestellung abschicken
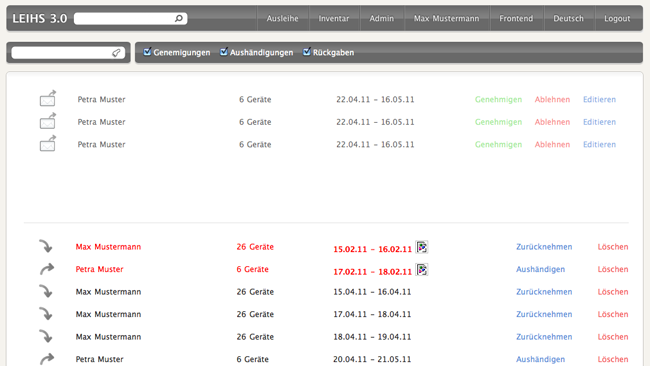
- Backend > Startscreen
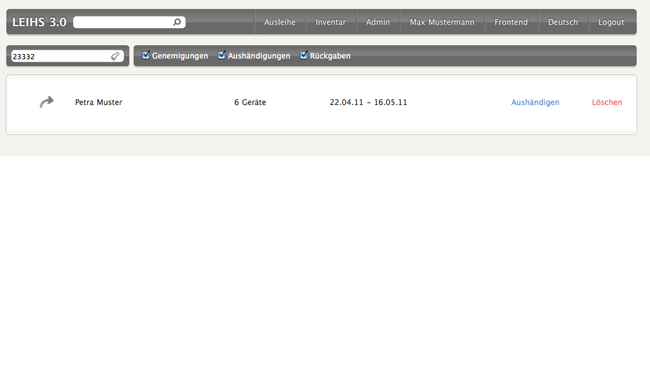
- Frontend > Startscreen (Scanner & Filter)
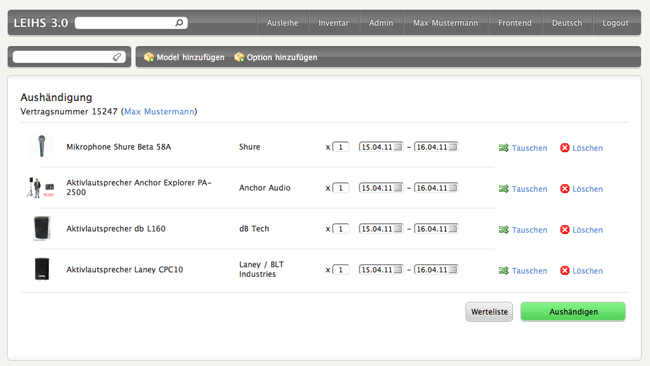
- Frontend > Startscreen > Aushändigen
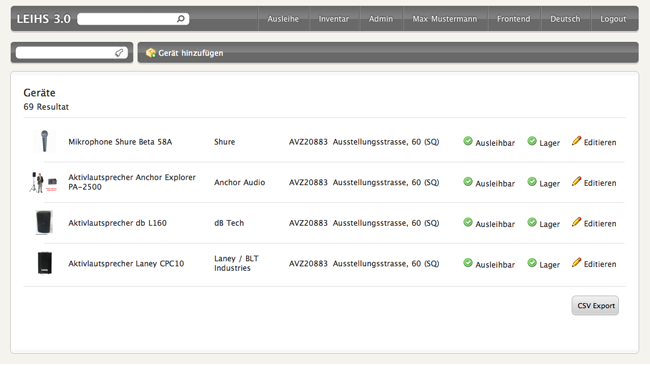
- Frontend > Startscreen > Ausleihe > Geräte
Interaktionskonzept (Dokumentation): Leihs Dokumentation