19. September 2013
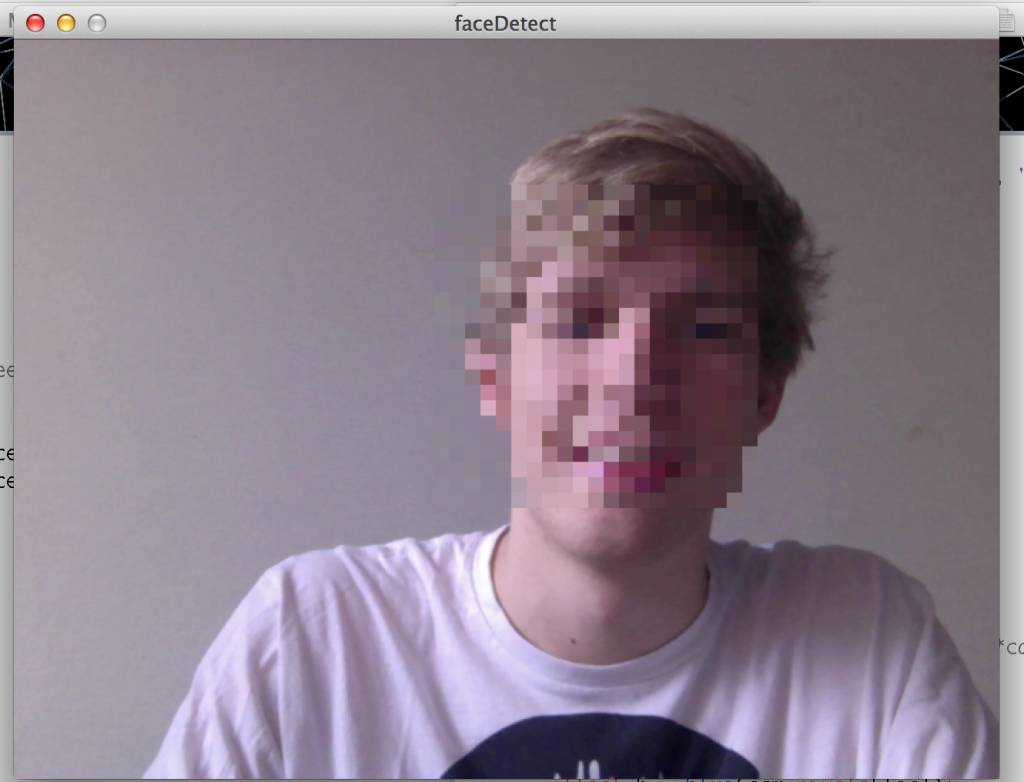
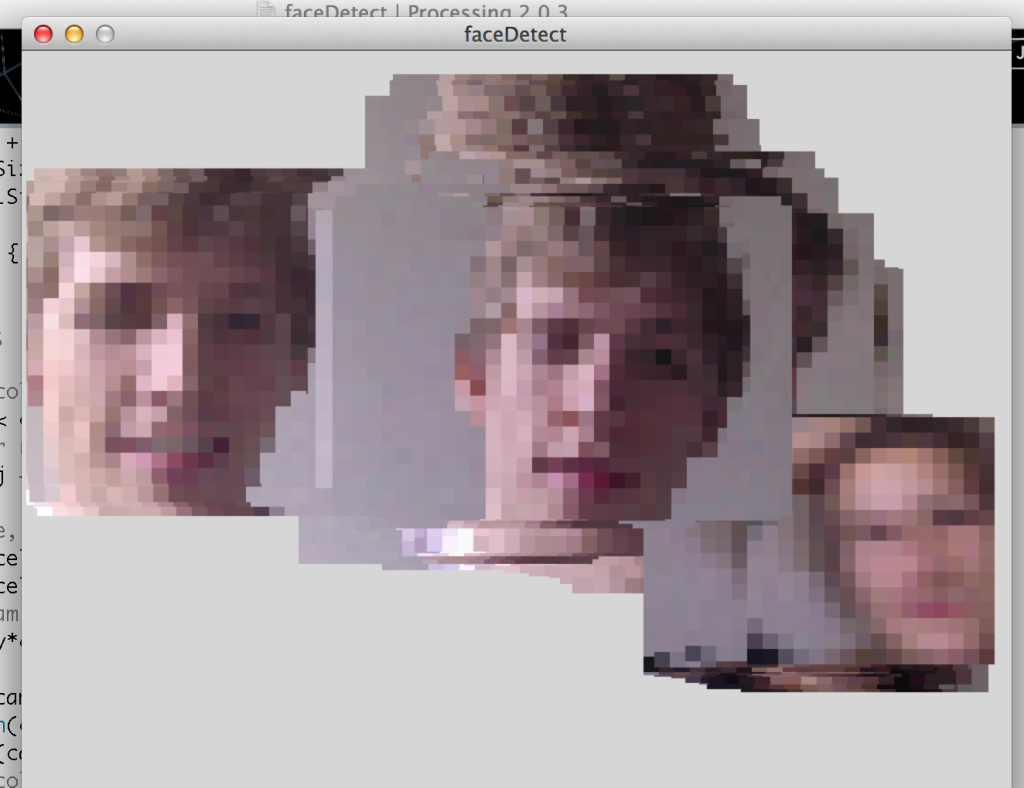
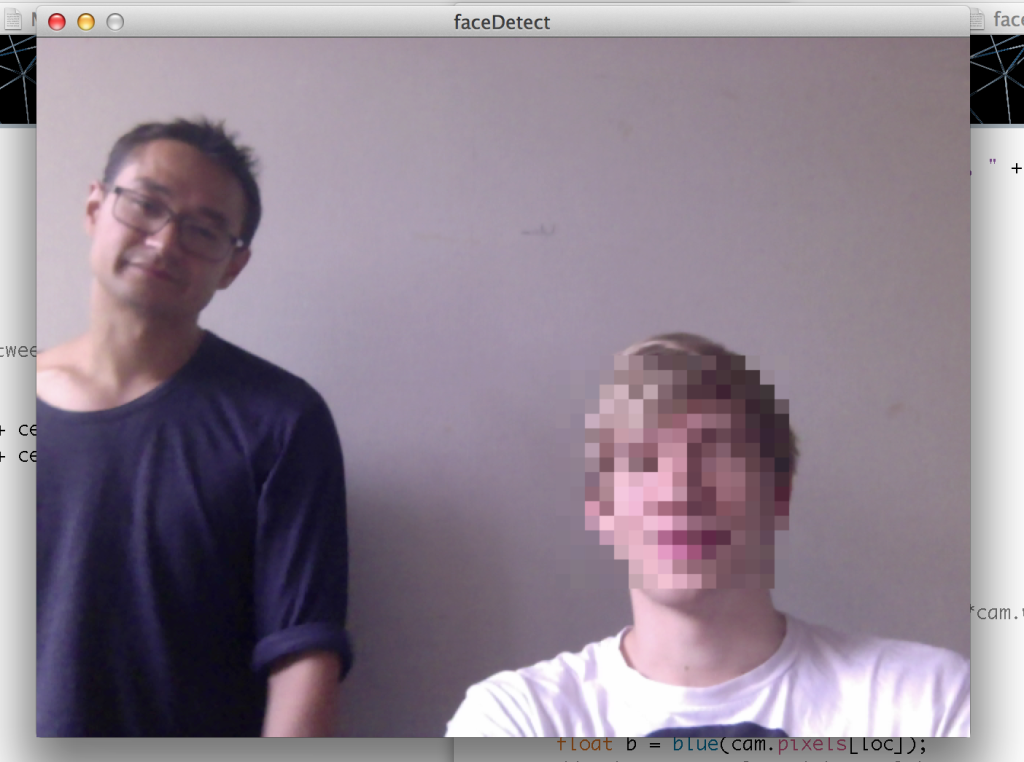
On the first day of our Programming Introduction with Processing I used OpenCV to explore the basics of face regocnition.

 The Code
// Face Detect

import ocv.*;
import processing.video.*;

import org.opencv.video.*;
import org.opencv.core.*;
import org.opencv.calib3d.*;
import org.opencv.contrib.*;
import org.opencv.objdetect.*;
import org.opencv.imgproc.*;
import org.opencv.utils.*;
import org.opencv.features2d.*;
import org.opencv.highgui.*;
import org.opencv.ml.*;
import org.opencv.photo.*;

import java.util.Vector;

import controlP5.*;


ControlP5 cp5;

PImage pimg;
Capture cam;
ocvP5 ocv;
CascadeClassifier classifier;

ArrayList<Rect> faceRects;

// Pixelate - Grid
int cellSizeX = 10;
int cellSizeY = 10;
Slider2D sliderCellSize;
int cols, rows;

void setup()
{
    // This is what you'll load if you're loading from MacPorts, otherwise this should be
    // wherever you built the OpenCV libraries
    System.load(new File("/opt/local/share/OpenCV/java/libopencv_java246.dylib").getAbsolutePath());

    ocv = new ocvP5(this);
    size(640, 600);
    frameRate(30);

    String[] cameras = Capture.list();
    println(cameras[0]);
    // cam = new Capture(this, cameras[0]);
    cam = new Capture(this, width, height-120);
    cam.start();

    classifier = new CascadeClassifier(dataPath("haarcascade_frontalface_default.xml"));

    faceRects = new ArrayList();
    stroke(255);
    noFill();

    cp5 = new ControlP5(this);
    sliderCellSize = cp5.addSlider2D("wave")
                        .setPosition(width/2-40,height-80)
                        .setSize(80,80)
                        .setArrayValue(new float[] {cellSizeX, cellSizeY});

    cols = width / cellSizeX;
    rows = height / cellSizeY;
    colorMode(RGB, 255, 255, 255, 100);
}

void draw() {

    cellSizeX = (int)constrain(sliderCellSize.arrayValue()[0], 1, 100);
    cellSizeY = (int)constrain(sliderCellSize.arrayValue()[1], 1, 100);

    if (cam.available() == true) {

        detectFaces();

        for (int i = 0; i < faceRects.size(); i++) {
            pixelateFace(faceRects.get(i).x, faceRects.get(i).y, faceRects.get(i).width, faceRects.get(i).height);
        }
    }

}

void detectFaces () {

    cam.read();
    pimg = cam;
    Mat m = ocv.toCV(pimg);

    Mat gray = new Mat(m.rows(), m.cols(), CvType.CV_8U);
    Imgproc.cvtColor(m, gray, Imgproc.COLOR_BGRA2GRAY);

    MatOfRect objects = new MatOfRect();

    Size minSize = new Size(150, 150);
    Size maxSize = new Size(300, 300);

    classifier.detectMultiScale(gray, objects, 1.1, 3, Objdetect.CASCADE_DO_CANNY_PRUNING | Objdetect.CASCADE_DO_ROUGH_SEARCH, minSize, maxSize);

    faceRects.clear();

    for (Rect rect: objects.toArray()) {
        faceRects.add(new Rect(rect.x, rect.y, rect.width, rect.height));
    }
}

void pixelateFace (int X, int Y, int Xwidth, int Yheight) {

    println(X + ", " + Y + " / " + Xwidth + ", " + Yheight);
    cols = Xwidth / cellSizeX;
    rows = Yheight / cellSizeY;
    cam.read();
    cam.loadPixels();
    image(cam, 0, 0);

    // Begin loop for columns
    for (int i = 0; i < cols; i++) {
        // Begin loop for rows
        for (int j = 0; j < rows; j++) {
            // Where are we, pixel-wise?
            int x = X + i*cellSizeX;
            int y = Y + j*cellSizeY;
            //int loc = (cam.width - x - 1) + y*cam.width; // Reversing x to mirror the image
            int loc = x + y*cam.width;

            float r = red(cam.pixels[loc]);
            float g = green(cam.pixels[loc]);
            float b = blue(cam.pixels[loc]);
            // Make a new color with an alpha component
            color c = color(r,g,b, 100);

            // Code for drawing a single rect
            // Using translate in order for rotation to work properly
            pushMatrix();
            translate(x+cellSizeX/2, y+cellSizeY/2);
            // Rotation formula based on brightness
            //rotate((2 * PI * brightness(c) / 255.0));
            rectMode(CENTER);
            fill(c);
            noStroke();
            // Rects are larger than the cell for some overlap
            rect(0, 0, cellSizeX, cellSizeY);
            popMatrix();
        }
    }
}
OpenCV can be installed either using Macports or manually. Here are some instructions I followed:
http://thefactoryfactory.com/wordpress/?p=1093
sudo port install opencv +javaThe +java is important to make sure that the Java are built. Now, figure out where the Java is:
port contents opencv | grep javaThese are the two files that you should copy to your OpenCV installation location:
/opt/local/share/OpenCV/java/* $PROCESSING_HOME/libraries/ocvP5/libraryNow you’re ready to go.