4. November 2010
Ausgegangen sind wir von einer einfachen Analog IN/OUT Schaltung (siehe voriger Post). Danach haben wir den Sensor, bzw seinen Wertebereich genauer angeschaut. Obwohl laut Beschreibung 0-1023 war dieser praktisch nur ca. 0-300 (Position je nach Widerstand varierend). Danach haben wir diesen Wertebereich auf den Dimmer gemappt outputValue = map(sensorValue, 340, 600, 0, 255); Bis dahin hatten wir als Ausgabe nur ein einfaches LED.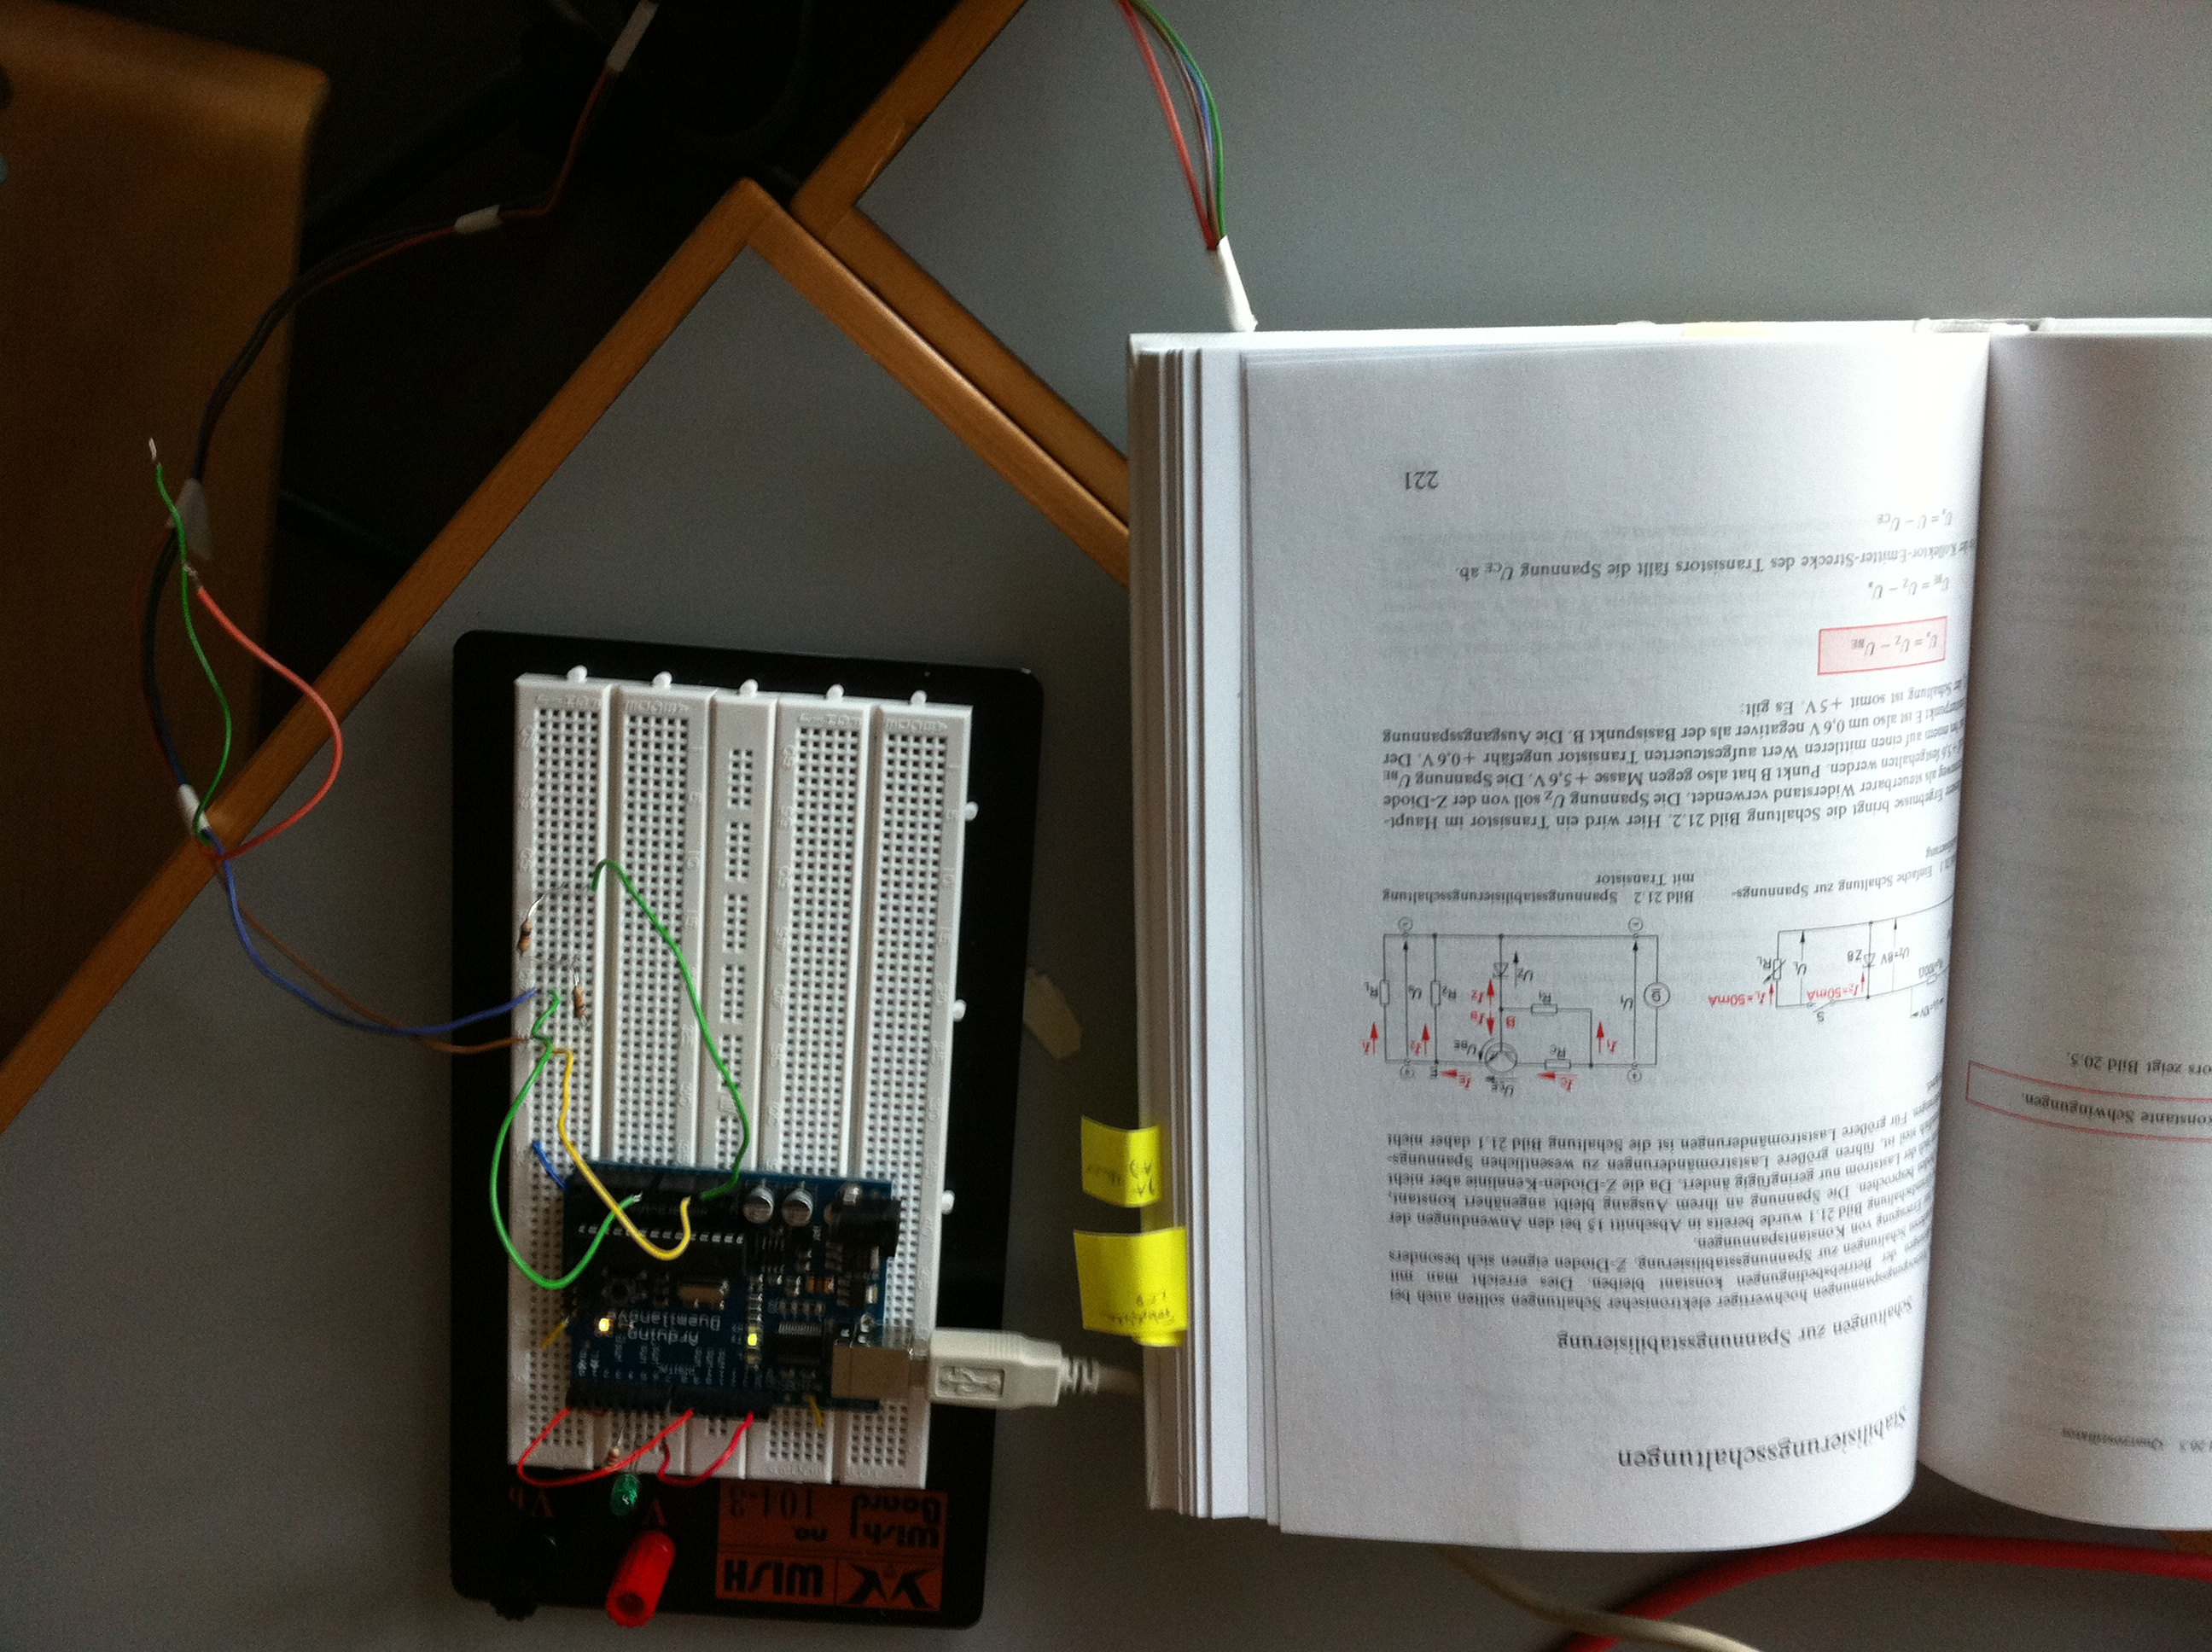
Einfacher, analoger Output
const int analogInPin = A0;  // analog input pin
const int analogOutPin = 9; // Analog output pin (LED)
//const int analogOutPin = 10; // Analog output pin (LED)

int sensorValue = 0;        // liest den port-wert aus
int outputValue = 0;        // wert des output ports

void setup() {
Serial.begin(9600);
}

void loop() {

sensorValue = analogRead(analogInPin);
// liest den analogen wert des potentiometers aus
if (sensorValue > 600) {

Serial.println("ZU HOHER WERT -------------------");
Serial.print("alter Wert = ");
Serial.print( sensorValue);
sensorValue = 600;
Serial.print("\t neuer Wert = ");
Serial.println(sensorValue);
Serial.println("---------------------------------");

}

if (sensorValue < 340) {
sensorValue = 340;
Serial.println("ZU NIEDRIGER WERT ******************");
}
// map it to the range of the analog out:
outputValue = map(sensorValue, 340, 600, 0, 255);
// change the analog out value:
analogWrite(analogOutPin, outputValue);

// druckt es auf dem serial monitor aus (siehe hintergrund video)
Serial.print("sensor = " );
Serial.print(sensorValue);
Serial.print("\t output = ");
Serial.println(outputValue);

// 10 millisekunden warten bis zum naechsten loop
delay(10);
}
Schliesslich kombinierten Cédric und ich unsere Schaltungen. Als analogen Input verwendeten wir nicht mehr ein Potentiometer sondern einen Biegesensor, welcher wir um den Buchdeckel montierten. Mit Hilfe des Buches konnten wir nun die Frequenz der LED steuern.
Video: requenz der 8 Lämpchen wird durch das Buch gesteuert.
const int analogInPin = A0;  // analog input pin
const int analogOutPin = 9; // Analog output pin (LED)
//const int analogOutPin = 10; // Analog output pin (LED)

int sensorValue = 0;        // liest den port-wert aus
int outputValue = 0;        // wert des output ports

// constants CEDI  -----------------------------

#define DATA1 8
#define DATA2 9
#define DATA3 10

int count = 1;
byte x = 1;

void setup() {

  //define pins 8,9,10 as outputs
  pinMode(DATA1, OUTPUT);
  pinMode(DATA2, OUTPUT);
  pinMode(DATA3, OUTPUT);
  Serial.begin(9600);
}

void loop() {


  sensorValue = analogRead(analogInPin);
   // liest den analogen wert des potentiometers aus
  if (sensorValue > 600) {

   Serial.println("ZU HOHER WERT -------------------");
   Serial.print("alter Wert = ");
   Serial.print( sensorValue);
   sensorValue = 600;
   Serial.print("\t neuer Wert = ");
   Serial.println(sensorValue);
   Serial.println("---------------------------------");

  }

  if (sensorValue < 340) {
    sensorValue = 340;
    Serial.println("ZU NIEDRIGER WERT ******************");
  }
  // map it to the range of the analog out:
  outputValue = map(sensorValue, 340, 600, 0, 255);
  // change the analog out value:
  //analogWrite(analogOutPin, outputValue);

  // druckt es auf dem serial monitor aus (siehe hintergrund video)
  Serial.print("sensor = " );
  Serial.print(sensorValue);
  Serial.print("\t output = ");
  Serial.println(outputValue);

  // 10 millisekunden warten bis zum naechsten loop
  //delay(10);


  // CEDI's LOOP
  //if ( x<8 ){
     // function see below
     if(count > 0){
       setPins(x-1);
     }
     else{
       setPins(~(x+1));
     }
     Serial.println(x, DEC);
     Serial.println();

     // DELAY
     int zeit = outputValue;
     Serial.println(zeit);
     delay(zeit);

 //}
   if(x==7){
     x = 1;
     count *= -1;
     Serial.print("vor oder zurück = ");
     Serial.print(count);           // send as binary
     Serial.println();                // send empty line
   }
   else{
     x++;
   }

}

// function definition --------------------
// the bits of the variable "number" are
// sent out to the decoder
void setPins(int number){
boolean d1 = bitRead(number, 0);
boolean d2 = bitRead(number, 1);
boolean d3 = bitRead(number, 2);

digitalWrite(DATA1, d1);
digitalWrite(DATA2, d2);
digitalWrite(DATA3, d3);

}