19. January 2014
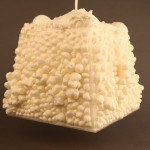
1. Plastic | Foam | Lamp
My basic material and fabrication method was plastic and heating. First I was interested in heating PET, so that it can be moulded. After a while I found the PU Foam whose properties are very interesting: big expansion, hard, light and stable. With this foam I made a lot of experiments which helped me to find my final concept and project.
Heating PET and mould it:
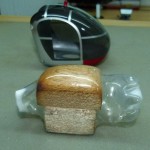
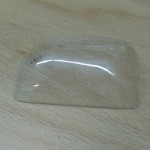 http://www.modellsport-sisikon.ch/586231.html
PU foam:
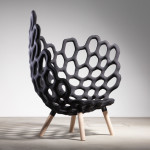 http://www.studiohausen.com/textile-moulded-chair.phtml
2. Computational Designs

 http://www.modellsport-sisikon.ch/586231.html
PU foam:
 http://www.studiohausen.com/textile-moulded-chair.phtml
2. Computational Designs
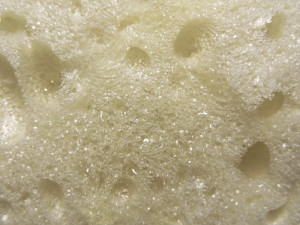
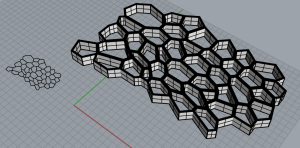
From the foam-structure to a 3D Printout:
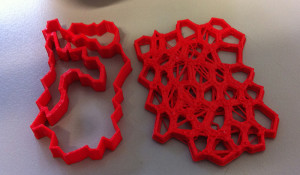 A small hollow ball to see what’s possible with the 3D Printer:
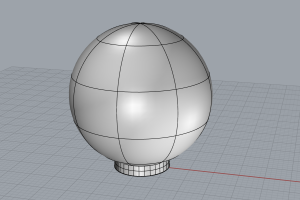
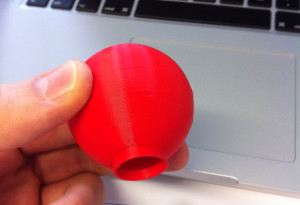


 A small hollow ball to see what’s possible with the 3D Printer:


3. First Ideas and Main Concept
First Ideas
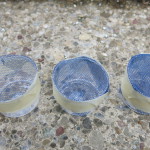
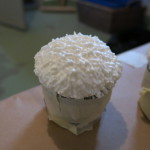
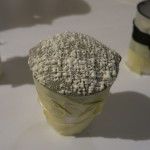
My first idea was to combine the PU foam with fine textiles. To see how the foam penetrates the textiles I made various experiments:
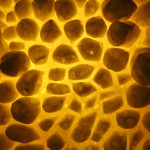
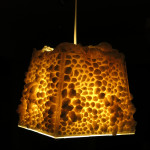
 Next, I was interested in how the foam would react in combination with a light bulb:
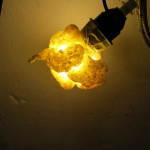
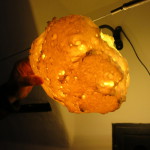 The result was very positive – so I decided to make a concept for a foam-lamp.
Concept
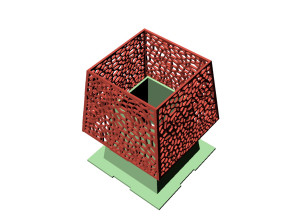
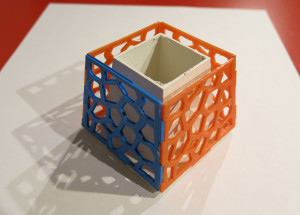
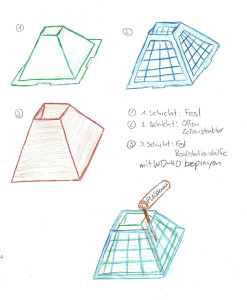
My construction setup for the foam-lamp has three layers:
1. inner layer should be solid
2. the outer layer should show the structure of the foam (see the first 3D printouts)
3. the last layer is just for making the realization easier


 Next, I was interested in how the foam would react in combination with a light bulb:

 The result was very positive – so I decided to make a concept for a foam-lamp.
Concept
My construction setup for the foam-lamp has three layers:
1. inner layer should be solid
2. the outer layer should show the structure of the foam (see the first 3D printouts)
3. the last layer is just for making the realization easier

4. Modelling and Fabrication process
The next step was to laser-cut my model step by step out of plexiglass and eventually glue the parts together.
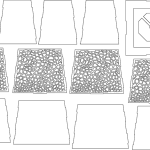
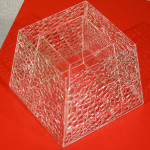 The last step was to fill the space between the two layers with foam.
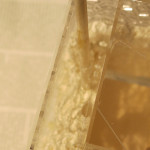
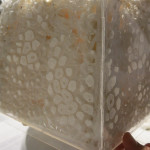
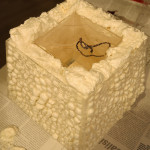
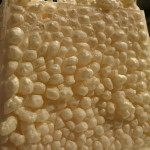

 The last step was to fill the space between the two layers with foam.


5. Final Outcome
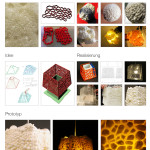
Poster:
