19. January 2014
KNITTING PAPER
In our course 'Digital Fabrication' we had to choose a material and a technique from a morphologic box which we developed in our class. My theme was 'KNITTING PAPER'.
During my research I was looking into knitting patterns, cell structures of cellulose – the basic material of paper, as well as where the material paper comes from – trees and wood.
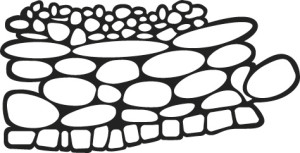
Surprisingly I found that the cell structures of cellulose reminded of a knitting/crochet pattern, which also reminded of stapled wood.
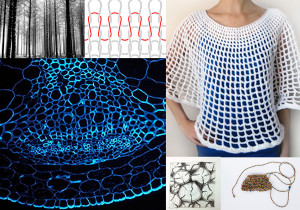
Source:
forrest: http://www.fotocommunity.de/search?q=Holz&index=fotos&options=YToxOntzOjU6InN0YXJ0IjtzOjI6IjI0Ijt9&pos=30&display=8419253
knitting pattern: http://www.productconcept.com/image/40c7b1e4.jpg
crochet jumper: http://www.crochetspot.com/crochet-pattern-circular-mesh-poncho/
cellulose structure: http://www.pressetext.com/news/20120327014
sketch stapled wood: Mona Neubauer
crochet work: Mona Neubauer
2. Computational Designs
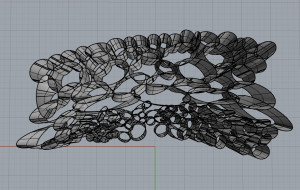
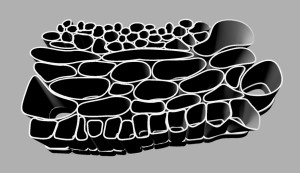
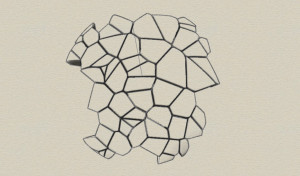
With the structures of the research in mind, I started to build ellipses in Rhino. I used the cellulose image (figure above) as template and overlapped the ellipses to imitate the interlocked knitting pattern. I drew them differently in the two layers to get angular cylinders. I was very interested in the overlapping structures that I thought couldn't be built other than with 3D-printing.
After printing my Rhino draft, I realized, that the 3D printer couldn't draw the circles and its intersections as unique shape but instead it drew each inner circumferences separately, which created very weak connections points between the single cylinders.
I tried different overlapping forms (one sided vs. two sided overlapping, different overlapping extent) and there again I observed the same challenges.
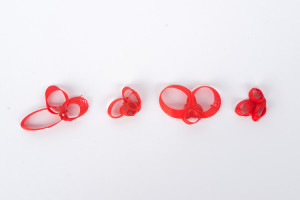
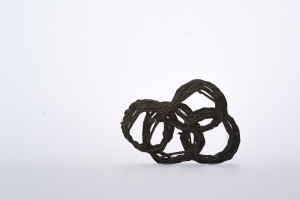
I tried then a different approach, with the 3D print pen (Doodler), by drawing the forms. This time I was confronted with the another issue again on the connection points. With this technique for each passage at the intersection a double layer was added.
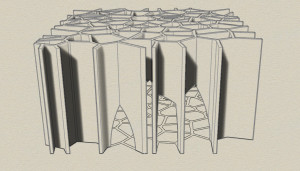
With no other solution in mind I dropped the initial structure with the intersections and developed a new model without overlaps. The model was drawn to create the feeling of angular cylinders (i.e. one side of the cylinder had a different shape from the opposite side). The first sketch was drawn in Illustrator, then in Rhino:
While printing the 3D sketch (above) with Cura this printing program did not recognize how the cylinders were connected.
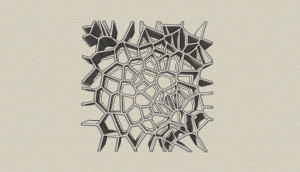
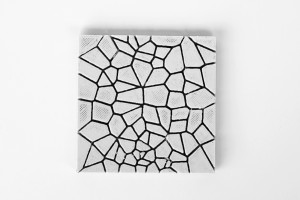
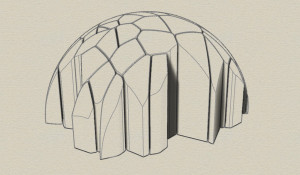
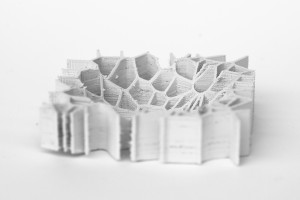
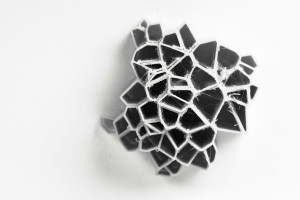
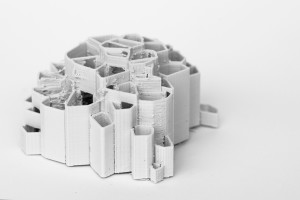
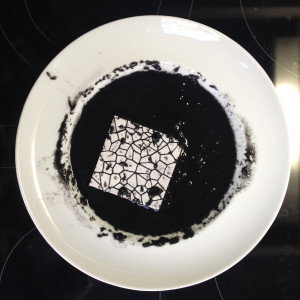
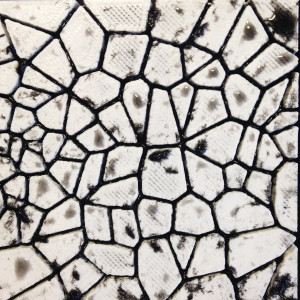
The next step was to look for a cell like form for which the connections are well defined. This brought me to the Voronoi structures. I then generated the Voronoi forms with Processing, which was then used for the 3D prints.
3. First Ideas and Main Concept
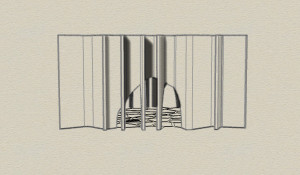
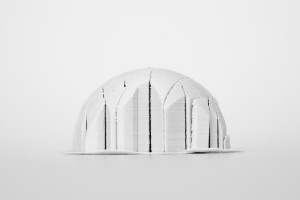
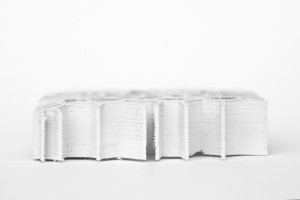
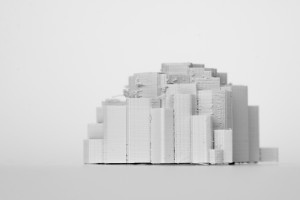
The initial idea was to model the structures (cylinders) into 3D forms where one side view would appear like tree trunks in a forest and the other perspective (top view) would allow to look through the structure. The following idea was to use the printed model as a mould and fill it with handmade paper to create a paper shape.
The mould was designed to allow the separation of the 3D print and the newly created paper model.
I also did some research around the paper properties and I used the following:
- light
- thin
- recyclable
- flexible
- stable
- firm
- low density
- sustainable
- low volume
- low price
These properties make the paper of an interesting material for light weight construction while being a sustainable resource. (source: Unfolded - Paper in Design, Art, Architecture and Industry, by Petra Schmidt and Nicola Stattmann)
Paper is composed of water, cellulose, filling material, binder and coating. By modifying each of these variables it is possible to generate paper with different properties. This variables combinations are used nowadays, for example to create:
- conductive paper in which the filling material is conductive
- paper with a silicone coating, which makes the material waterproof.
The next thought was about exploring the possibility to built paper structures with a 3D printer from a micro- to its macrostructure.
As an example, (1) single cellulose fibers could be printed with silicone coating, (2) conductive fibers could be added to the cellulose fibers and (3) its fibers arrangement (in shape, direction and quantity) would allow modifying the end product flexibility/stability, as required. This would allow endless possibilities of new paper creations.
4. Modelling and Fabrication process
3D printed models:
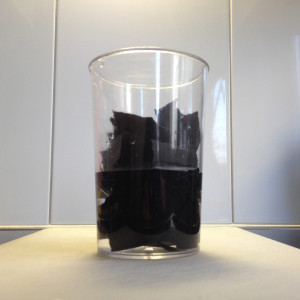
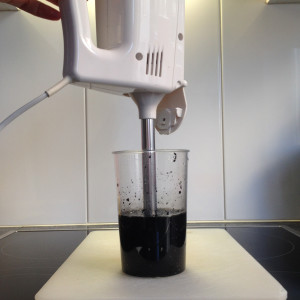
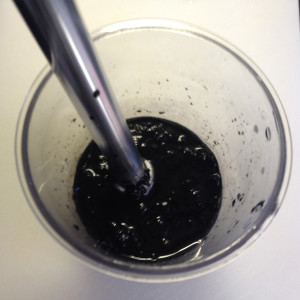
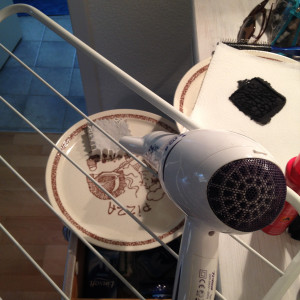
paper making process:
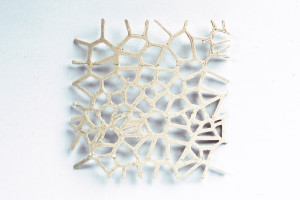
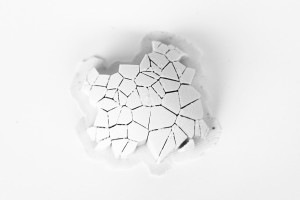
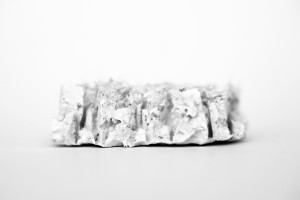
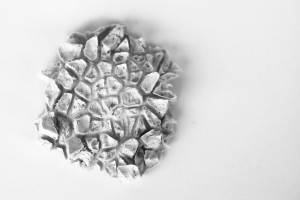
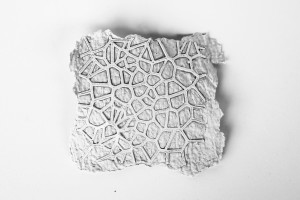
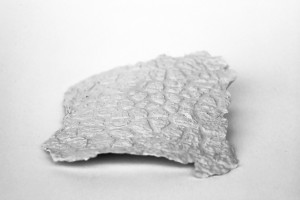
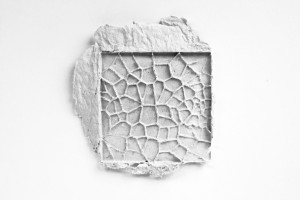
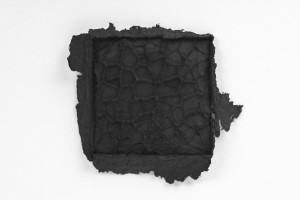
Structures created with paper:
5. Final Outcome
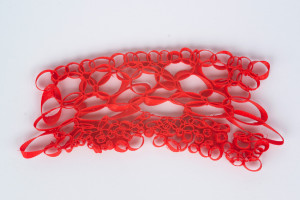
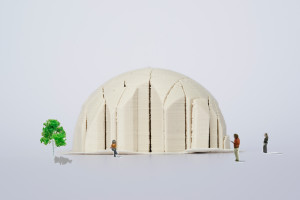
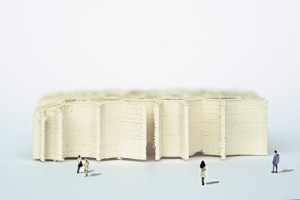
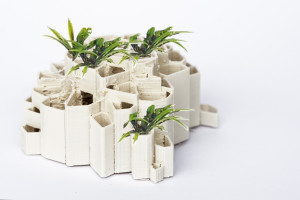
With the prints and paper models I wanted to illustrate examples of different creations:
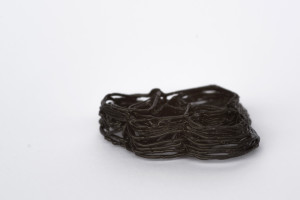
Visualization for printed microstructure, on cellular level:
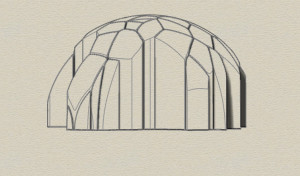
Visualization for printed macrostructure, built on the generated microstructures and resulting in unique properties:
